
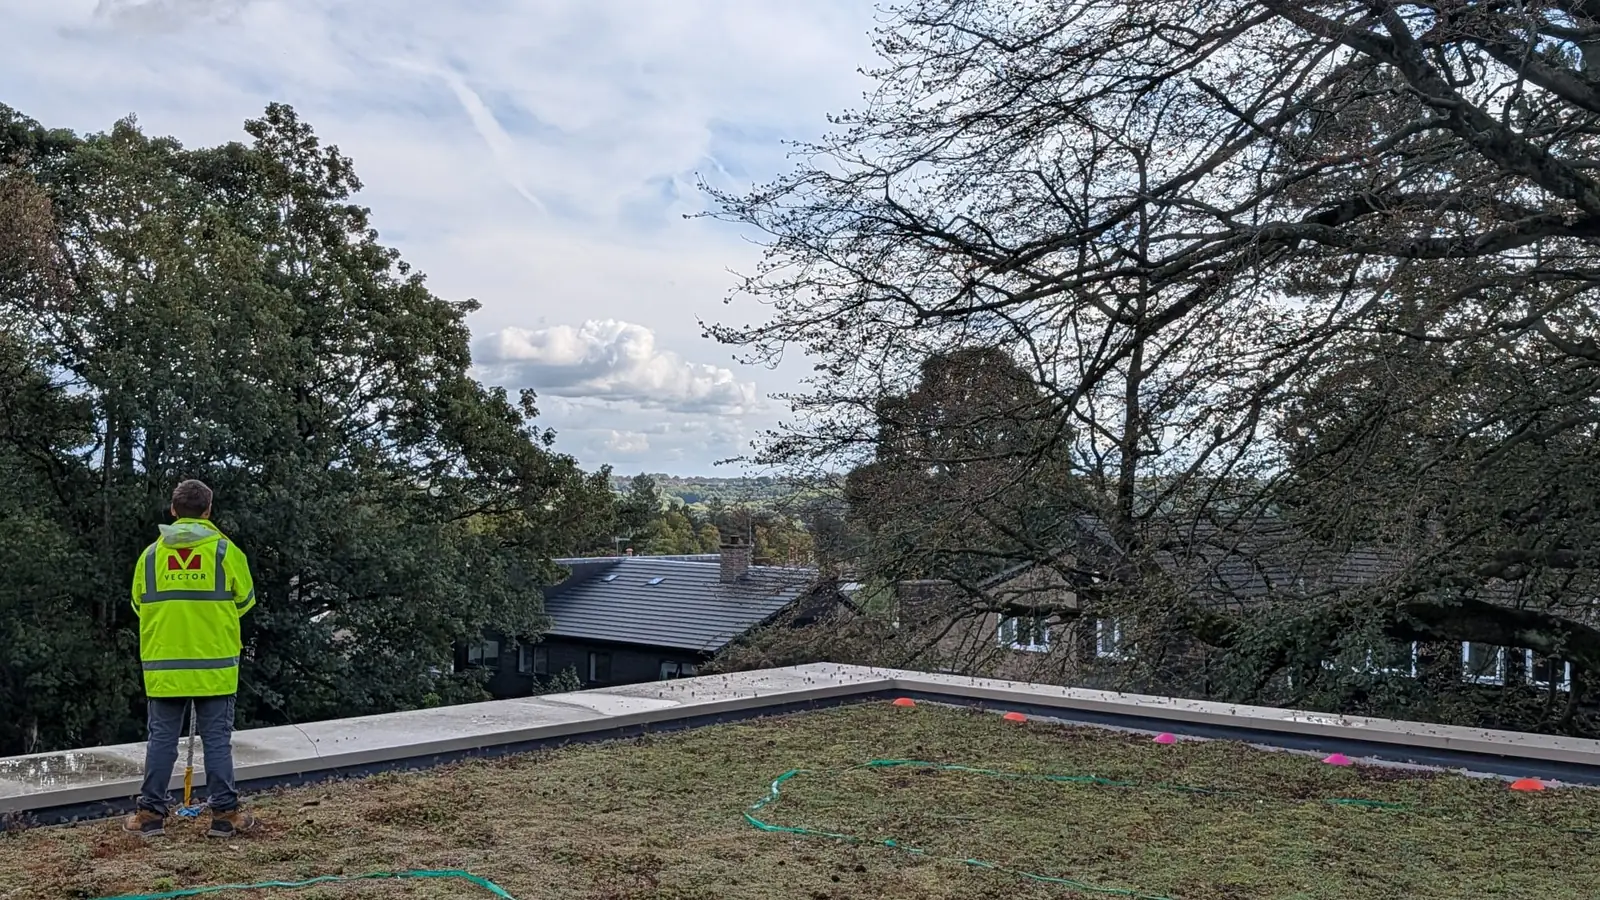
A green roof that leaks only in heavy or prolonged rain has a defect that ordinary weather does not reach. In a storm, water accumulates in the build-up to depths that are not normal, and that depth exposes a breach that has probably been there for a long time. The water showing on the ceiling has usually travelled a long way from it. This page is for the facilities manager, asset manager or building surveyor who has a green roof leaking after a storm and wants it fixed once.
One thing to be clear about first. Vector is not an emergency roofer. Vector is your consultant for a permanent fix after the leak diverter. The immediate response to water in an occupied building is a facilities job, and a good leak diverter arrangement is usually the right one. Our work starts when you want to know where the defect is, why it leaks, and how to prove the repair.
The first week: what to do and what not to do
Make the building safe, then record everything
Get the water away from finishes, services and people. A leak diverter above a suspended ceiling, buckets below a plaster one, and the electrics isolated where water is near them. That is the emergency response, and it is not ours.
Then start recording, because the pattern of ingress is the first piece of evidence and it is the one that gets lost. On a copy of the roof plan, mark every point of ingress: which rooms, which ceiling positions, which columns or slab joints. Note the timing. Did it start during the rain or hours afterwards? Is this the first time, or has this roof leaked before? Does it correspond with any significant event, a storm, a period of prolonged rain, works on the roof, a change to the planting or irrigation?
Do not let anyone lift the planting above the wet patch
The instinct is to open up where the water is coming through. On a green roof that is nearly always the wrong place, for reasons explained below, and every unnecessary opening-up disturbs sound waterproofing and makes the eventual investigation harder.
Do not accept a patch repair as a fix
When Vector is not involved, the normal sequence is a visual inspection of what is accessible, some minor patch repairs, and then exposing and repairing, all before anyone has established the cause. If you know what is wrong you can fix it and check the fix. If you are adding layers without knowing where the defect is, you are guessing, and the roof will tell you whether you guessed right the next time it rains hard. Patch repairs are also, far more often than you would believe, poorly carried out and leak themselves.
The thing a facilities manager least wants to hear on day one is that the fix is not immediate. People are understandably panicked and looking for something done now, and the biggest error we see is rushing or skipping the investigation and the clear identification of cause. When the money for the right level of professional involvement is not spent at that point, half-hearted repairs follow, niggles continue, somebody is commissioned to do a repair that is not necessarily the right repair, and it rumbles on for months. It also becomes progressively harder to tell what actually happened.
This is where trust breaks down. Once occupants anticipate a leak every time it rains, goodwill goes, the relationship with the contractor goes with it, the repair becomes harder to achieve and the costs escalate. The way to avoid that is to establish cause before repair, and to prove the repair afterwards.
Send the information for a desktop review
Before anyone goes on the roof, send us:
- the roof plan with the points of ingress marked;
- the as-built details and the O&M information, so we know what the build-up actually is;
- the maintenance record, including any previous leaks and previous repairs;
- photographs of the ingress and of the roof;
- the timing notes above.
An initial site inspection is typically a few days away. A great deal can be done before then from the drawings and the pattern you have recorded, and the desktop review often changes what the site visit needs to look at.
Why a green roof leaks only in heavy rain
Water has to make its way through the whole green roof build-up before it reaches the waterproofing, and some of those layers hold it back. Many green roofs include a water flow-reducing layer that is close to waterproof in itself. In ordinary rain, water passes through the substrate, drains away through the drainage layer, or evaporates before it accumulates on anything.
In a storm, water accumulates. It reaches depths in the build-up that are not normal, and that depth exposes a defect in a way that everyday weather never does. Below the membrane the same thing happens again: water has to make its way through the insulation, the vapour control layer and the structure, each of which slows it down, and in dry weather it evaporates before it becomes apparent. So the leak is usually long-standing. It does not show up often, but it is there, and the storm is simply the first time enough water has arrived to make it visible.
Drainage matters as much as the layers. A blue roof is the clearest example, because its drainage is designed to behave differently in different weather, but any green roof with a restricted or partly blocked outlet will hold water in a storm that it sheds in a shower.
Why the stain is not where the defect is
Water moves horizontally through a roof build-up as readily as it moves down. It runs along the drainage layer, through insulation joints, along the vapour control layer and down the falls of the deck, and it keeps going until it finds a route through to the space below: a construction joint, a service penetration, a movement joint, a low point. That is where the ceiling gets wet.
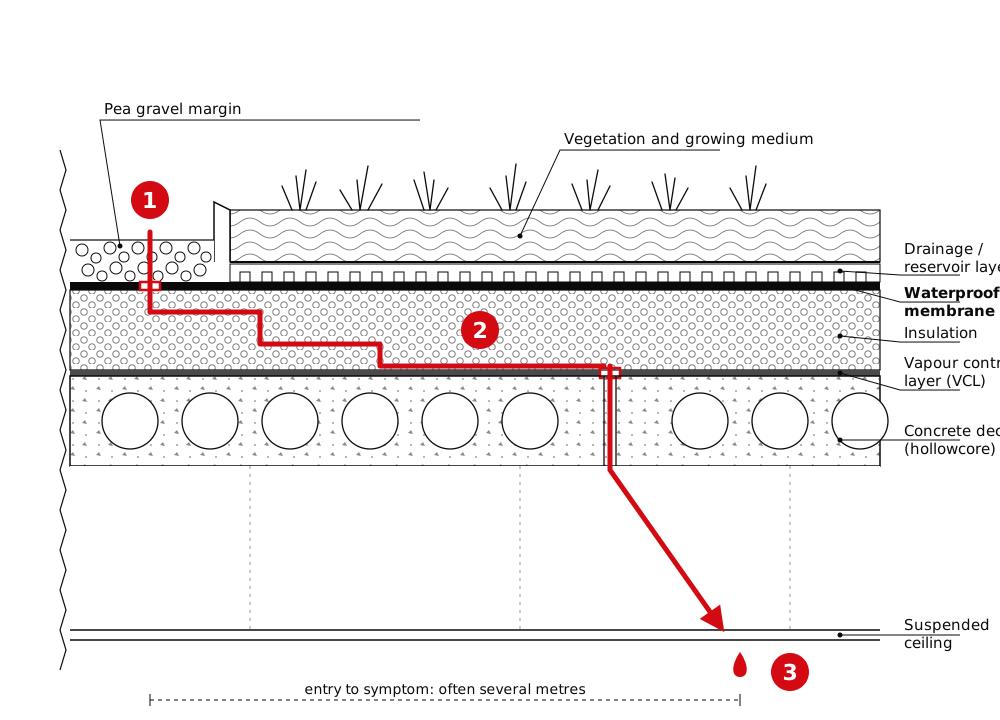
How far? It depends on the build-up and on the falls. The more layers there are, the further water can travel. On a large deck we would expect anything from ten to fifty metres between the breach and the ingress; it is hard to get much further than that. Vertically it can be worse. We are investigating a building now where the defect is at level six and the water is showing at level four, two floors below the roof it is coming from.
The practical consequence is blunt. If a contractor lifts the planting above the wet ceiling and finds nothing wrong with the membrane, the membrane there is probably fine, and the hole is somewhere else.
Where the defects actually are
By the time Vector is on site, the obvious things have normally been looked at, sometimes well and sometimes not. Penetrations and outlets are the most common defects on any roof, and they are usually the first things checked. Parapets and flashings, level threshold doors and cavity trays are common points of failure that are checked less often and deserve a second look.
It is also worth saying that not every leak under a green roof is the roof. We saw one recently where the water turned out to be an escape from a radiator system.
Where Vector adds the most value is the case nobody else can resolve: a defect somewhere in the field sheet of the membrane, under the full depth of the green roof, and nobody knows where. Identifying the point of ingress through that depth of build-up, without stripping it, is what the Buried Leak Location survey was built for.
Finding the breach without stripping the roof
In plain words, a Buried Leak Location (BLL) survey maps the flow of electricity from one side of the roof to the other. An electrical source is connected at the point of ingress, and the electrical flux is measured across the upper surface of the roof in a grid, through the planting, substrate and drainage layer. That is a large simplification of a method that takes a good deal of analysis, but it is the essence of it. The outcome is a contour map of the roof plan showing where conductivity is greatest, and those points correspond well with the points of ingress. The breach shows as a clear anomaly at a highly localised position.
Nothing is stripped. Two of the Vector team walk the roof, usually over two consecutive days, and the landscape stays where it is. We do not normally need to move any planting; if we did, it would be agreed in advance and preferably done by the facilities team.
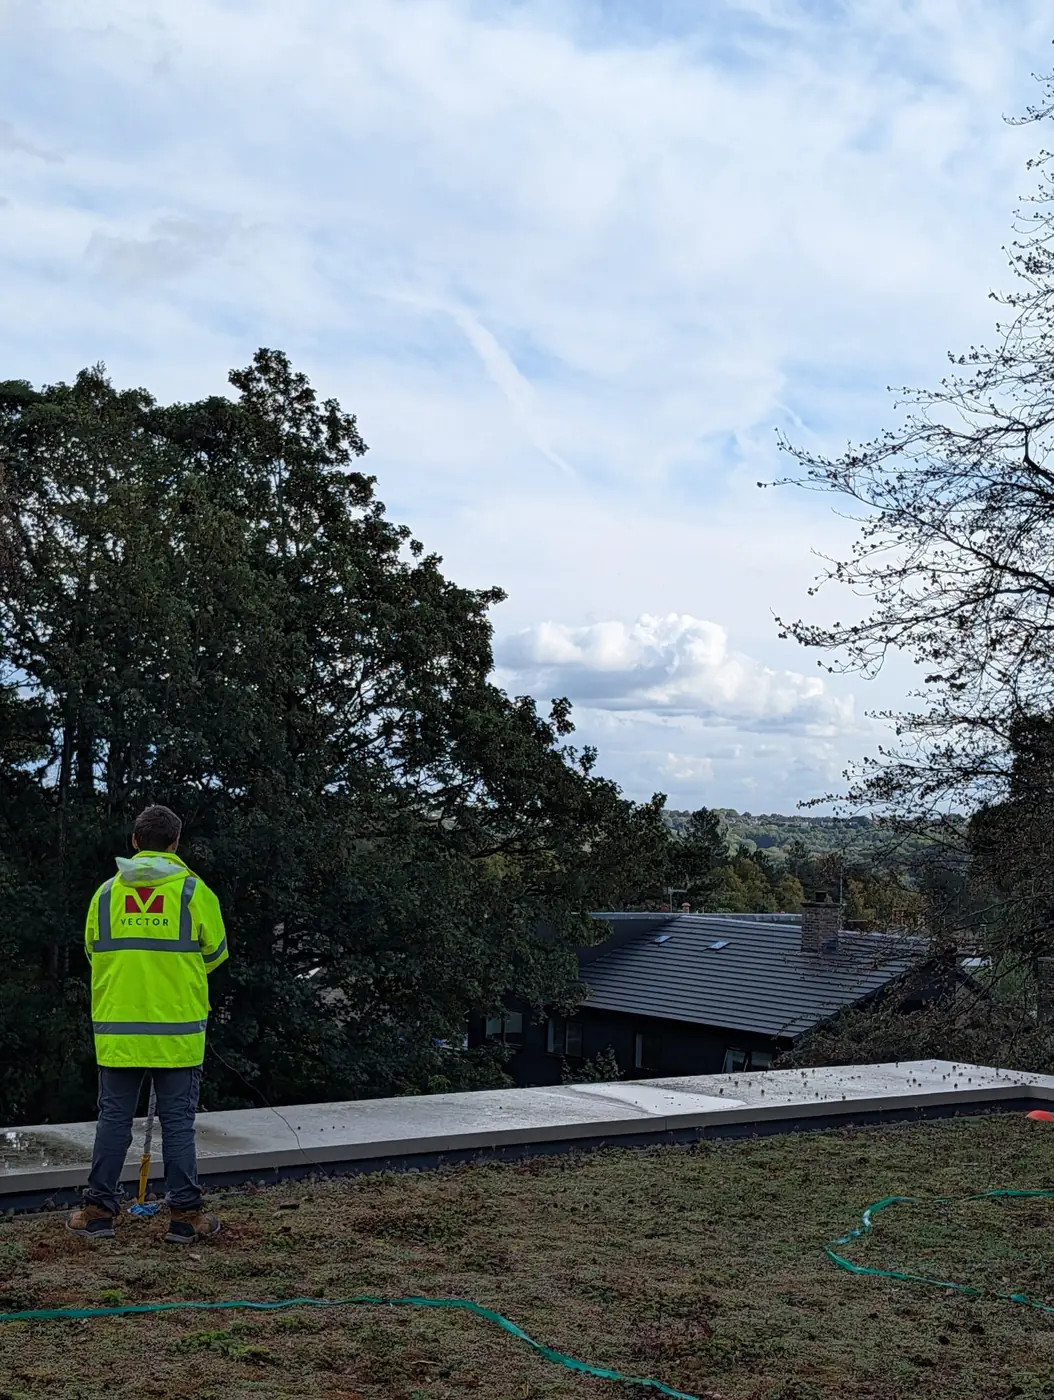
The survey needs the roof to be leaking. This is the one condition that matters, and after a storm it is usually met. If the leak cannot be recreated, the survey cannot be done. So the first step, before we are instructed to attend, is for the facilities team to recreate the leak by watering the deck, with leak diverters in place below; we give guidance on how to do it and the equipment that helps, sometimes as simple as timers on taps. We only want to attend once the leak is running.
Where the party responsible for keeping the roof watertight is not the occupant, and especially where there are several occupants under the roof, recreating the leak needs liaison, clear communication and written permission from everyone affected. For a managing agent or asset manager that is often the biggest practical task of the whole exercise, and it is worth starting on it the day the leak appears.
What you receive, typically two weeks after the site days, is a professional report whose main deliverable is the contour map showing leak locations and suspicious areas. We follow it with a call to talk it through and agree where localised opening-up will be carried out. Typically that is a minimum of about a square metre around each marked location, because once the defect is found there has to be room to repair it properly. That is the difference from stripping a search area.
Then the step that is most often skipped and should never be: we want to be instructed to attend once the membrane is exposed, to investigate, identify the point of ingress and carry out quality assurance on the repair. It should not be left to the roofer alone. The building owner, the roofer, the waterproofing supplier and the occupants all want certainty, and that certainty is lost if the opening-up and inspection is done by somebody who is not independent and not expert. The report itself goes to the main contractor or building owner; it is equally useful to a latent defect insurer, and the location evidence it contains has been relied on by an expert witness in a legal case.
At an occupied extra-care building in Derbyshire, leaks that had persisted under the green roofs for years were located this way and repaired with minimal disruption to the residents living underneath: the Darley Dale case study has the detail. At an integrated green roof with a solar array in Balham, the survey plotted two suspicious areas against the leak reported in the flat below, and the contractor opened up there and only there: the Tramyard.
Honest limits. Multiple waterproofing layers, slip layers and some vapour control layers can make the survey ineffective, and we establish whether it is viable from the initial inspection, before quoting. Dense planting that prevents measuring in a decent grid creates challenges. And the roof has to leak while we measure. None of these is a reason to start digging.
Which method, when
Thermal imaging is nearly never the right call on a green roof; it only shows something meaningful on a build-up with no insulation. Visual inspection is the starting point wherever the waterproofing can be seen. Electronic leak detection is the cheap and right option where the build-up suits it and the membrane is exposed. The moment the roof would have to be stripped to reach the membrane for electronic testing, buried leak location is bound to be the better option.
The full method, step by step, is on the Buried Leak Location page, and the broader question of how green roof leaks are found, including why dye tests and flood tests fail on them, is answered in How can I find a leak in a green roof?.
Podium decks, inverted roofs and blue roofs
The principle is the same; the complexity changes with the number of layers. Blue roofs are more awkward because their drainage behaves differently in different weather, and a green roof built over a blue roof is more awkward still. Podium decks with slip layers complicate the readings. An inverted roof is often simpler, provided the relevant layer can be reached. In all cases, layers on the underside of the structural soffit, such as a vapour control layer below the deck or a suspended ceiling, can hide the ingress position further and make the record of where the water first appeared more valuable, not less.
After the fix: making this the last time
Almost all of the cost of a roof leak accumulates in the gap between the membrane being breached and somebody establishing where it is and how to fix it. On a green roof that gap is often measured in years, and a storm is simply the event that ends it.
Once the defect has been located, repaired and the repair verified, the roof is open at a known position and that is the ideal moment to put in a moisture sensor, if the build-up is right. It gives every stakeholder far greater confidence in the repair. Sensors cored through the build-up and seated on the vapour control layer report continuously, so the next time water reaches the deck the alarm says which zone, with a date and time, and nobody has to go looking. That is a different conversation from the one you are having this week, but it is the one that stops you having this week again. Smart roof monitoring: what it is, how it works and what it cannot do explains it without the sales language.
What to do this week
- Make the building safe with a leak diverter and keep the water away from finishes and services.
- Record the ingress positions and the timing on the roof plan, and whether this roof has leaked before.
- Do not lift planting above the wet patch, and do not accept a patch repair as a fix until it has been tested.
- Send the roof plan, as-built details, O&M, maintenance record and photographs for a desktop review.
- Keep the leak reproducible: note what it takes to make it run, because the location survey needs the roof leaking while it is measured.
- Get the membrane surveyed through the build-up by an independent specialist, insist on marked locations on a plan, not a search area, and have the same specialist witness the opening-up and the repair.
Related reading
- How can I find a leak in a green roof?
- Can you find a leak without removing the green roof?
- Why does a green roof only leak in heavy rain?
- Buried Leak Location — the survey, step by step
- Green roof leak detection: why standard methods fail
- Darley Dale Extra Care: green roof leaks located under an occupied building
- Roof leak investigation methodology
If your green roof has leaked after a storm and you would rather locate the defect than dig for it, talk to Vector. If the roof is leaking now, phone 020 3137 6722.